
Virtual production, professional studios, and large-scale performances demand high-precision visuals. LED displays are replacing traditional green/blue screens fast. They’re now the core of virtual filming backdrops.
The advantage is clear: “What you see is what you get.” Real-time compositing cuts post-production costs. It improves filming efficiency too. But there’s a catch.
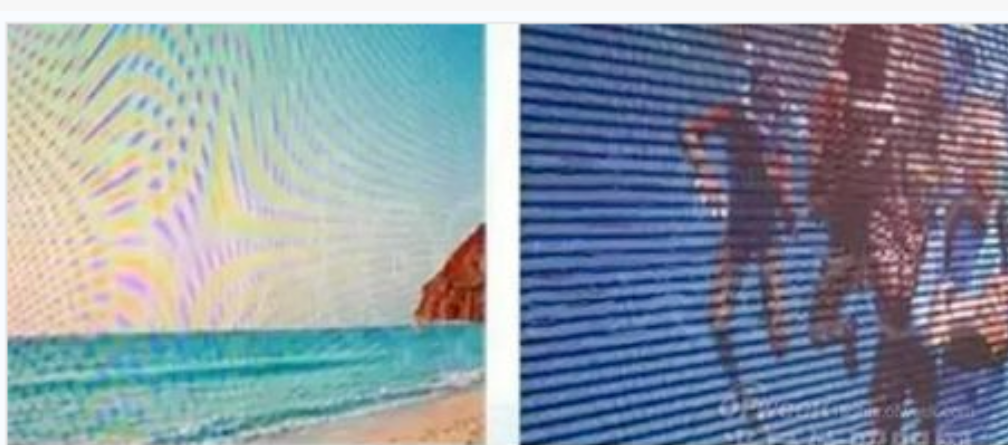
When shooting LED screens with cameras, two major issues often pop up. They are moiré patterns and scan lines. Moiré looks like irregular water ripples. Scan lines are horizontal black stripes. Both ruin image quality.
Worse, these issues can make footage unusable. They’ve become a key technical bottleneck for LED virtual production. Today, we’ll guide you these two problems.
Moire vs. Scan Lines
Moire and scan lines are easy to mix up. But they differ in visual traits, causes, and solutions. Let’s compare them clearly:
Visual Characteristics
– Moire patterns:
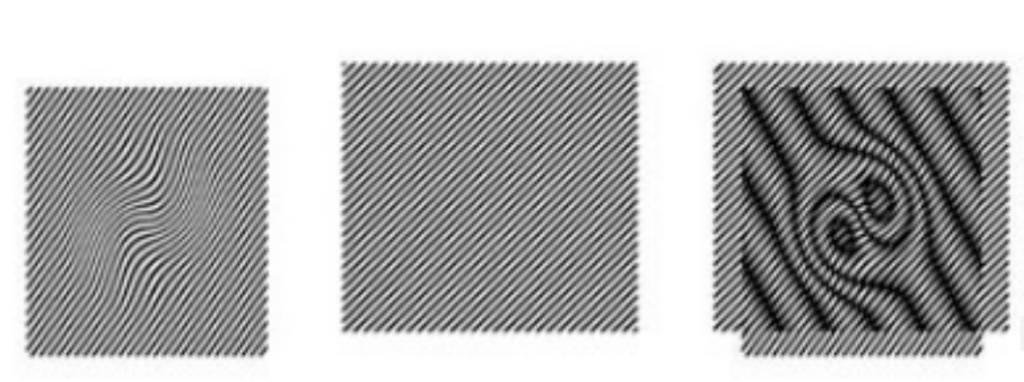
Irregular curved or grid-like ripples. Colors change with shooting angle or camera settings.
– Scan lines:
Fixed horizontal black stripes. Stripe spacing changes with the LED screen’s refresh rate. No color interference.
Core Mechanisms
– Moire:
Interference between two periodic pixel arrays. That’s LED screen pixels vs. camera sensor pixels.
– Scan lines:
Sync mismatch between the camera shutter and the LED screen’s line-by-line scanning frequency.
Main Triggers
– Moire causes:
- Low LED screen refresh rate.
- Mismatched camera settings
- LED pixel density.
- Pixel arrays of the screen
- Sensor are almost parallel (angle close to 0°).
– Scan line causes:
- LED screen refresh rate < 1000Hz
- Camera uses a rolling shutter.
Industry Misconceptions
– About moire:
You can adjusting the camera angle alone to fix it. In reality, this only eases the issue. It can’t eliminate moire completely.
– About scan lines:
“No flicker to the human eye means no scan lines.” Cameras sample light at different frequencies than the human eye. You won’t see flicker, but the camera will catch scan lines.
Let’s use a real example. A film crew once shot an XR scene. They noticed wavy moire on the LED backdrop. They tried tilting the camera. The moire faded a bit but didn’t disappear. Later, they realized the LED screen’s refresh rate was too low. That’s the key difference between easing and fixing the problem.
Targeted Solutions
Solutions vary for moire and scan lines. For moire, we need to optimize both the camera and the LED screen. For scan lines, we can focus on refresh rate and sync.
Fixing Moire: Dual-End Optimization
Moire comes from interference between two pixel arrays. We can ease it by adjusting camera settings. But to fix it permanently, we need to improve the LED screen itself.
Camera Side: Parameter Adjustments
The idea is to change the “relative grid relationship” between the camera and the LED screen. You can Find settings to minimize interference. Here’s how to do it:
Aperture Adjustment
Suggestion:
You can Use a large aperture, such as F2.8-F4. Please avoid small apertures , such as F8.0 or smaller.
Why it works? Large apertures create shallow depth of field. LED pixels blur at the edges on the camera sensor. This weakens periodic interference. Small apertures have deep depth of field. Pixels appear sharp, Interference gets worse.
Object Distance Adjustment
Suggestion:
You can change the distance between the camera and the LED screen. For example, move from 4m to 6m. Don’t keep a fixed distance.
Why it works? Because changing distance alters the “image pixel spacing” of LED pixels on the sensor. When this spacing isn’t an integer multiple of the sensor’s pixel spacing, interference eases.
Focal Length Adjustment
Suggestion:
You should avoid telephoto lenses, such as 105mm. You can prioritize wide-angle to standard lenses ,like 24mm-50mm.
Why it works? Telephoto lenses “magnify” the periodicity of the LED pixel array. This makes moire worse. Wide-angle lenses have a broader field of view. Pixel array density in the frame decreases, Interference weakens.
Shooting Angle Adjustment
Suggestion:
You can tilt the camera so its optical axis forms a 5°-15° angle with the LED screen’s normal. Don’t shoot straight on.
Why it works? Changing the angle between the two pixel arrays breaks “parallel resonance.” It can reduce the number of light and dark interference ripples.
Limitations:
These adjustments only ease moire. They also restrict filming. For example, a large aperture can’t meet depth of field needs. You may need both the foreground actor and background LED screen to be sharp. A non-vertical angle ruins the virtual scene’s perspective. These methods aren’t practical for real shoots. They can’t be permanent fixes.
LED Screen Side:
The root of moire is the LED screen’s own periodicity and refresh rate. If you can fix these, and moire disappears. This is the industry’s recognized permanent solution. Here are the core technical requirements:
Ultra-High Refresh Rate
The LED screen’s refresh rate must be ≥7680Hz .It can improve the driver IC’s signal output frequency. This makes the LED pixels’ on-off cycle much faster than the camera shutter’s sampling cycle. It weakens the basis for periodic interference.
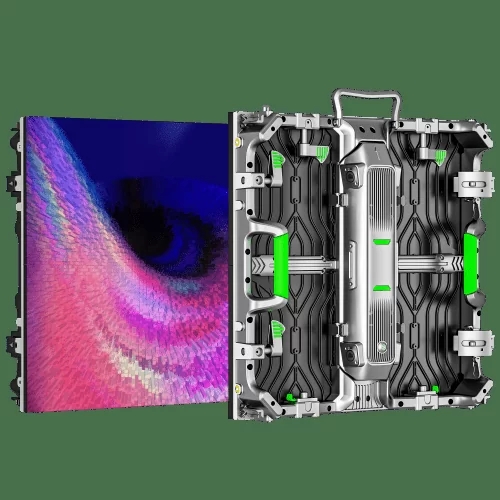
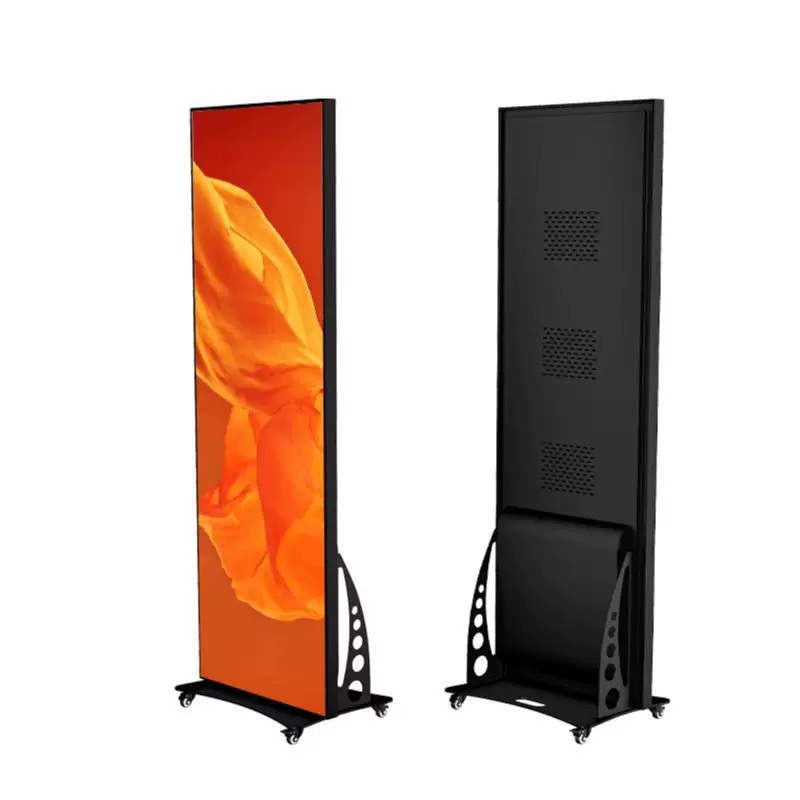
Rental LED Display SL-D Series
The SL-D rental LED display is a premium professional events stage LED display.You can choose pixel pitches from P1.953 to P4.81. With a refresh rate up to 7680Hz, it provides sharp image quality and smooth playback . The SL-D series supports curved, concave, convex, and seamless right-angle installations. Therefore, it offers maximum creative flexibility for different venues. Moreover, With front and rear maintenance access, plus a removable back cover, it guarantees hassle-free operation and long-term reliability.
Key Features:
- Pixel pitches: P1.953 – P4.81
- Cabinet sizes: 500×500mm & 500×1000mm
- Lightweight & thin (7.5kg / 15kg, 80mm thick)
- Supports concave, convex & right-angle installation
- Front & rear dual maintenance with removable back cover
- High refresh rate: up to 7680Hz
- Indoor & outdoor options
- 3 years warranty + 5% spare parts
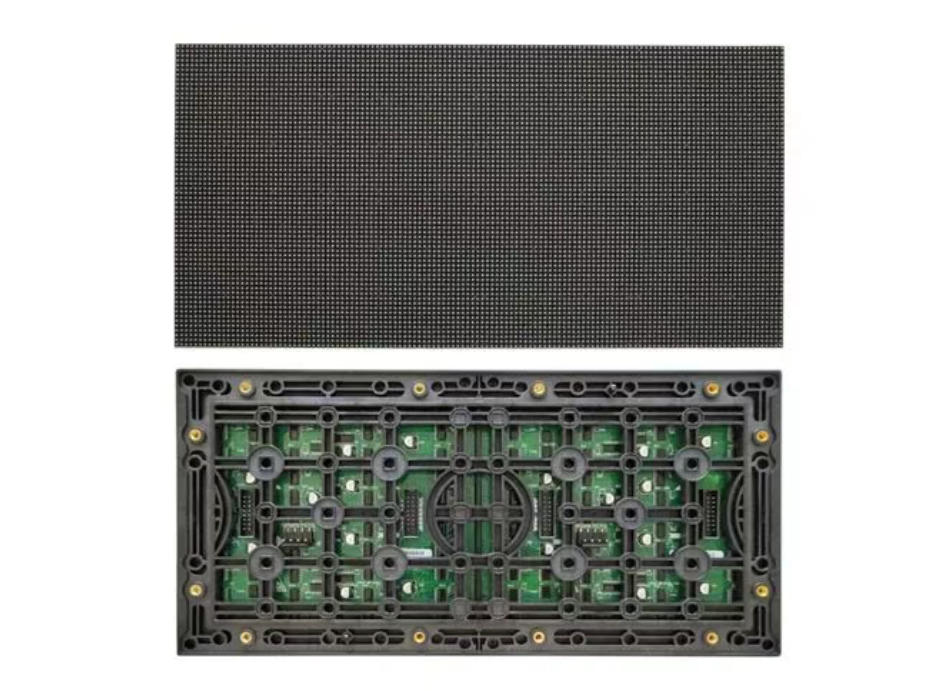
Pixel Density Optimization
You can use high-density packaging technologies like MiniCOB. For example, you can Choose pixel pitches of P1.2 or smaller. Reducing pixel spacing moves the pixel array’s “periodic frequency” away from the camera sensor’s frequency. For example, a full-frame camera with 60 million pixels has a frequency of about 200dpi. Matching frequencies cause resonance. Avoiding this stops moire.
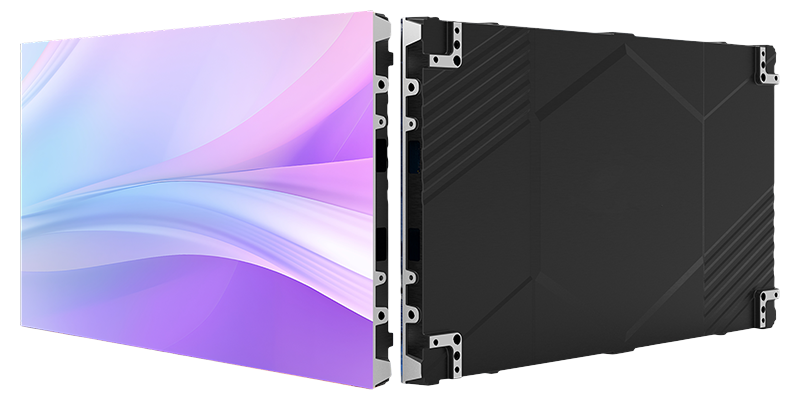
Small pitch fixed installation COB Screen
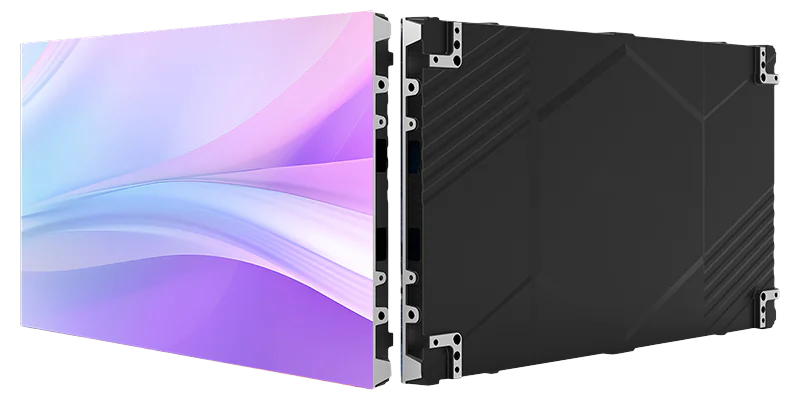
The COB small pitch fixed installation solution is suitable for application:
High resolution;
- High brightness;
- High contrast application
- High-end command centers;
- Radio and television studios, etc.
- SightLED Ultra series:
- P0.93 products support 7680Hz refresh rate
- Meet the needs of 8K/120fps film and television production.
At the same time, it adopts a 600×337.5mm standard size cabinet design and supports ±15° arc adjustment
It is convenient for users to splice and install according to actual needs.
View more our prodcut: Flip Chip COB LED Display
Flicker-Free Driving
You can replace traditional “duty cycle driving” with “PWM flicker-free technology.”It will ensure continuous, stable brightness output from LED pixels. Brightness fluctuations worsen moire. Flicker-free driving eliminates this issue.
Fixing Scan Lines: Focus on “Refresh Rate + Shutter Sync”
Scan lines come from sync mismatch between the camera shutter and the LED screen’s line-by-line scanning. The solution is more direct. How do it? You can Focus on improving refresh rate and optimizing sync mechanisms.
Core Solution: Improve LED Screen Refresh Rate
– When the LED screen’s refresh rate is ≥1000Hz, the “line switching time” of line-by-line scanning drops to less than 1ms. The camera’s rolling shutter, such as common 1/50s or 1/60s. It can’t capture the brightness difference between lines. Scan lines disappear naturally.
– For broadcast-level cameras, the LED screen’s refresh rate should be ≥7680Hz. This matches the camera’s “global shutter” mode. It completely eliminates both scan lines and flicker.
Auxiliary Technology: Shutter-Refresh Sync
Some high-end LED control systems support “camera shutter signal input.” They adjust the LED screen’s scanning frequency in real time to sync with the camera’s shutter speed. For example, if the shutter speed is 1/50s, You can set the LED refresh rate to an integer multiple of 50Hz.
This further prevents scan lines. It’s ideal for high-dynamic virtual filming scenarios. You can think fast camera pans or actors with large movements.
Practical Tips for Filming with LEDs
Beyond the technical solutions, these tips help avoid moire and scan lines in real shoots:
– Test before formal shooting:
Set up the LED screen and camera in advance. Test different camera settings and shooting angles. Find the optimal parameter combination.
– Choose the right LED screen:
For virtual production, You can prioritize screens with ≥7680Hz refresh rate and MiniCOB packaging. Don’t compromise on quality to save costs.
– Check sync compatibility:
Please confirm that the LED control system supports shutter sync with your camera model. Consult us for technical support.
– Avoid overprocessing in post:
Heavy color grading or sharpening can bring back moire. Keep post-processing light if possible.
Final Thoughts
Moire and scan lines are not unavoidable in LED filming. The key is to understand their root causes. For moire, we can focus on dual-end optimization: Ease with camera settings and fix permanently with high-performance LED screens. For scan lines, we can boost the screen’s refresh rate and ensure shutter sync.
As LED virtual production becomes more popular, technical requirements will rise. You can choose our high refresh LED screen and master the correct shooting methods.
If you’re facing moire or scan line issues in LED filming, or if you need help selecting an LED screen for virtual production. You can contact us. Our technical team will answer your questions. Share this guide with fellow filmmakers. Help them avoid these common pitfalls!

